====== Menu ====== ===== Introductions ===== * [[concept]] * [[about]] * [[laws]] * [[license]] ===== Documents ===== * [[tutorials/index.html]] * [[specifications/index.html]] * [[api_guides/index.html]] * [[faq/index.html]] * [[https://github.com/plenprojectcompany|Resources on the GitHub]] ===== Social Accounts ===== * [[https://ja-jp.facebook.com/PlenProjectCommittee|Facebook Page]] * [[https://twitter.com/plen_project|Twitter]] * [[https://www.instagram.com/plenproject/|Instagram]] * [[https://www.youtube.com/channel/UCoKNQe4Vb5Fa0D00bYLEFJQ|Youtube Channel]] ===== Etc ===== * [[sitepolicy]] * [[editing]] * [[https://www.dokuwiki.org/wiki:syntax|Syntax]]
User Tools
Sidebar
Translations of this page:
tutorials:motion_editor_for_unity:software_installation
Table of Contents
Software Installation
Table of Contents
MotionEditor for Unityのインストール方法
Windows
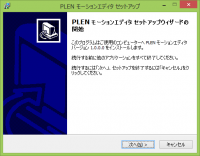
ダウンロードしたインストーラを起動します。
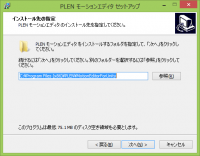
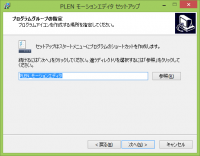
インストール先の指定やプログラムグループの指定を行ってください。(特に変更する必要がない場合は既定値で構いません。)
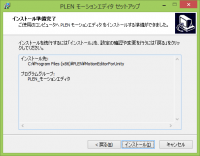
設定が適切か確認し、インストールボタンをクリックしてください。インストールが開始されます。
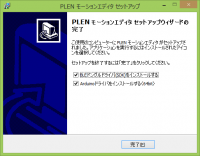
以下の画面が表示されればMotionEditorのインストール作業は終了です。 続いてBLEドングルドライバ(SDK)、PLEN USBドライバ(Arduinoドライバ)のインストールを行います。
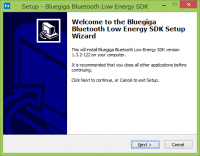
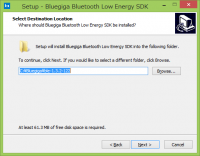
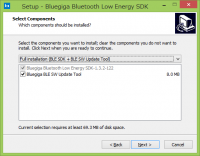
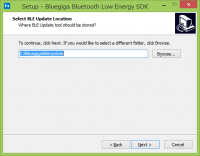
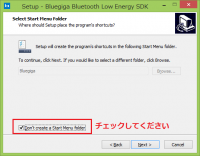
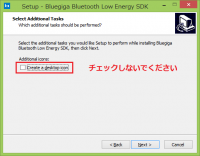
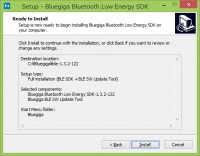
まず、BLEドングルドライバ(Bluegiga Bluetooth Low Energy SDK)のインストールを行います。(設定事項は一部を除き既定値でも構いません。)
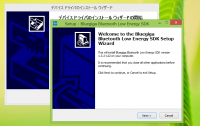
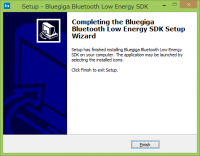
インストール開始後、以下の画面が表示される場合があります。インストールをクリックしてください。 クリック後、作業が再開し、インストールが完了します。
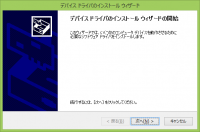
最後にPLEN USBドライバ(Arduinoドライバ)をインストールします。
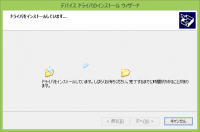
「次へ」を押すとインストールが開始します。なお、「このデバイスソフトウェアをインストールしますか?」と表示される場合がありますが、すべて「インストール」を押してください。
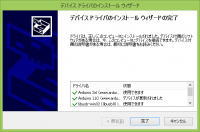
以下の画面が表示されたら、MotionEditorのすべてのインストール作業が終了となります。
Mac
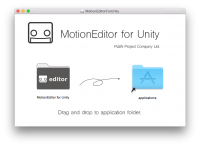
ダウンロードしたdmgファイルをダブルクリックします.
MotionEditor for Unityをapplicationsフォルダにドラッグアンドドロップします。(これでインストール作業は完了です。)
Prev > Introductions
Next > Basic Operation Instructions
tutorials/motion_editor_for_unity/software_installation.txt · Last modified: 2021/04/01 13:52 (external edit)
Except where otherwise noted, content on this wiki is licensed under the following license: CC Attribution-Share Alike 4.0 International

