====== Menu ====== ===== Introductions ===== * [[concept]] * [[about]] * [[laws]] * [[license]] ===== Documents ===== * [[tutorials/index.html]] * [[specifications/index.html]] * [[api_guides/index.html]] * [[faq/index.html]] * [[https://github.com/plenprojectcompany|Resources on the GitHub]] ===== Social Accounts ===== * [[https://ja-jp.facebook.com/PlenProjectCommittee|Facebook Page]] * [[https://twitter.com/plen_project|Twitter]] * [[https://www.instagram.com/plenproject/|Instagram]] * [[https://www.youtube.com/channel/UCoKNQe4Vb5Fa0D00bYLEFJQ|Youtube Channel]] ===== Etc ===== * [[sitepolicy]] * [[editing]] * [[https://www.dokuwiki.org/wiki:syntax|Syntax]]
User Tools
Sidebar
Translations of this page:
tutorials:plen2:firmware
This is an old revision of the document!
Table of Contents
Firmware Installation
Table of Contents
Preliminary Arrangements
To write PLEN2's firmware requires Arduino IDE (created by arduino.cc) ver.1.6.0 or above. Please download and install it before to do continued steps.
How to Download the Arduino IDE
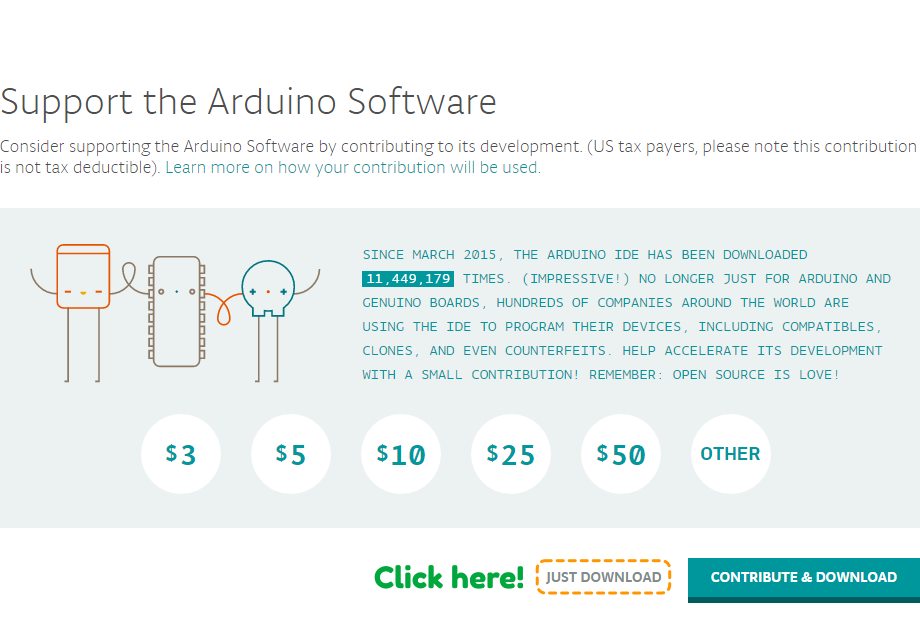
Access the Arduino IDE download page, and then choose your environment.
Click “JUST DOWNLOAD” button. (You do not need to select donation menu.)
Installation Process
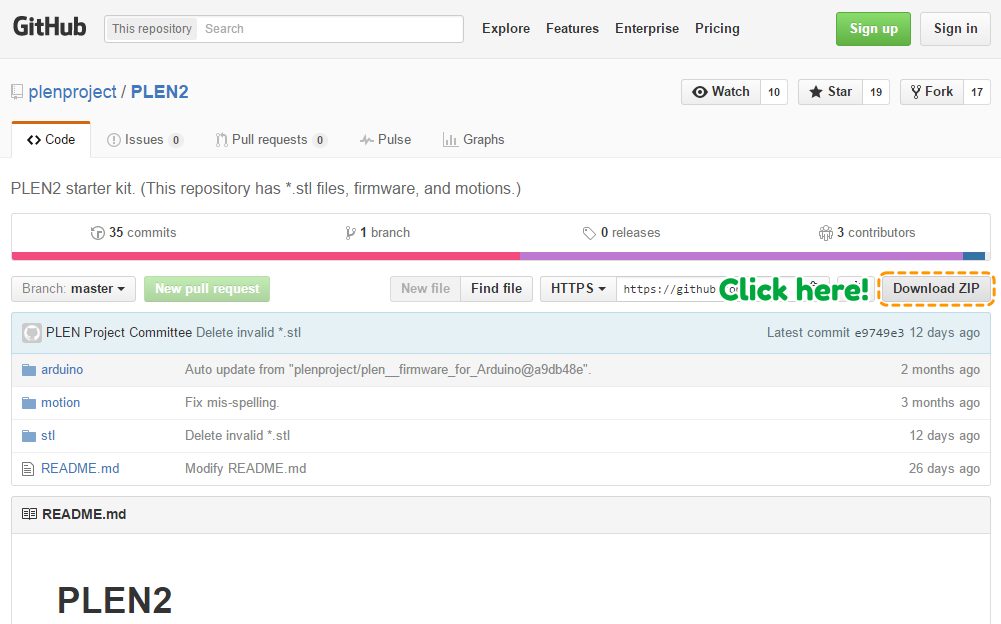
Download "PLEN2" repository.
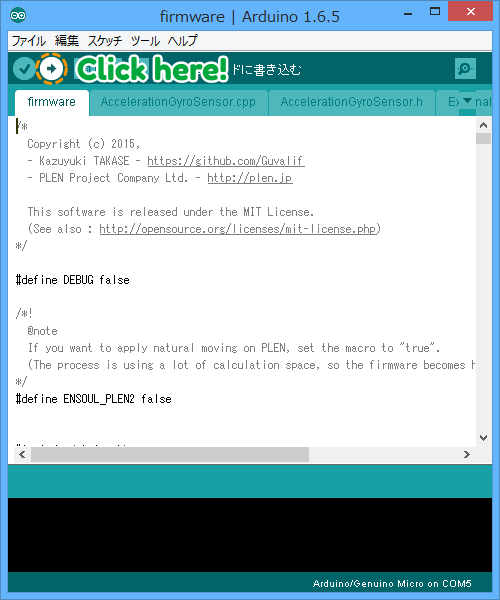
Open “firmware.ino” (This is placed “/arduino/firmware/” directory) with Arduino IDE.
Choose target board as “Arduino/Genuino Micro”.
Take proper serial port to communicate your base-board. (Port name is different in each environments.)
Click upload button.
Next > Connect a Battery
tutorials/plen2/firmware.1480906258.txt.gz · Last modified: 2021/04/01 13:52 (external edit)
Except where otherwise noted, content on this wiki is licensed under the following license: CC Attribution-Share Alike 4.0 International


