====== Menu ====== ===== Introductions ===== * [[concept]] * [[about]] * [[laws]] * [[license]] ===== Documents ===== * [[tutorials/index.html]] * [[specifications/index.html]] * [[api_guides/index.html]] * [[faq/index.html]] * [[https://github.com/plenprojectcompany|Resources on the GitHub]] ===== Social Accounts ===== * [[https://ja-jp.facebook.com/PlenProjectCommittee|Facebook Page]] * [[https://twitter.com/plen_project|Twitter]] * [[https://www.instagram.com/plenproject/|Instagram]] * [[https://www.youtube.com/channel/UCoKNQe4Vb5Fa0D00bYLEFJQ|Youtube Channel]] ===== Etc ===== * [[sitepolicy]] * [[editing]] * [[https://www.dokuwiki.org/wiki:syntax|Syntax]]
User Tools
Sidebar
Translations of this page:
tutorials:plen2:arm
Table of Contents
Arm
Table of Contents
Parts List
Parts list of the left arm is enumerated below. (Also you could use the parts to build the right arm.)
| Name | Q'ty |
|---|---|
| servo_assem_type1.stl | 1 |
| servo_horn.stl | 1 |
| servo_bracket_elbow_1.stl | 1 |
| servo_bracket_elbow_2.stl | 1 |
| hand.stl | 1 |
| Servo Motor (Length C) | 1 |
| Servo Motor (Length D) | 1 |
Print Detail
Assembling Process
Parts List
Upper Arm
Hand
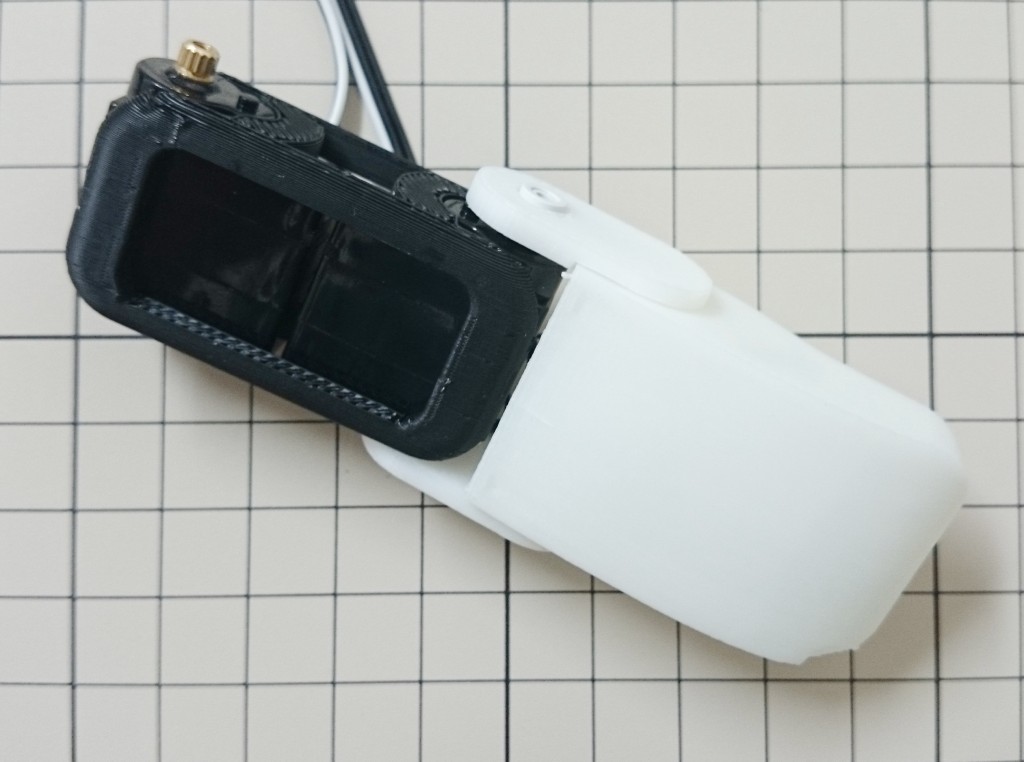
Merge Parts
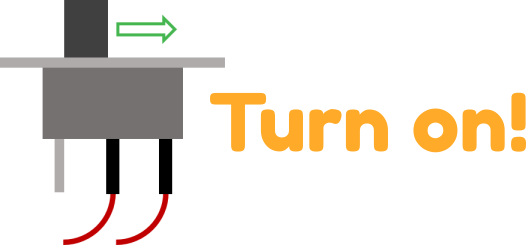
Attention!: Before to merge the parts, you should connect servos' cables and the control-board. When it was completed, please turn on both switches and keep the status.
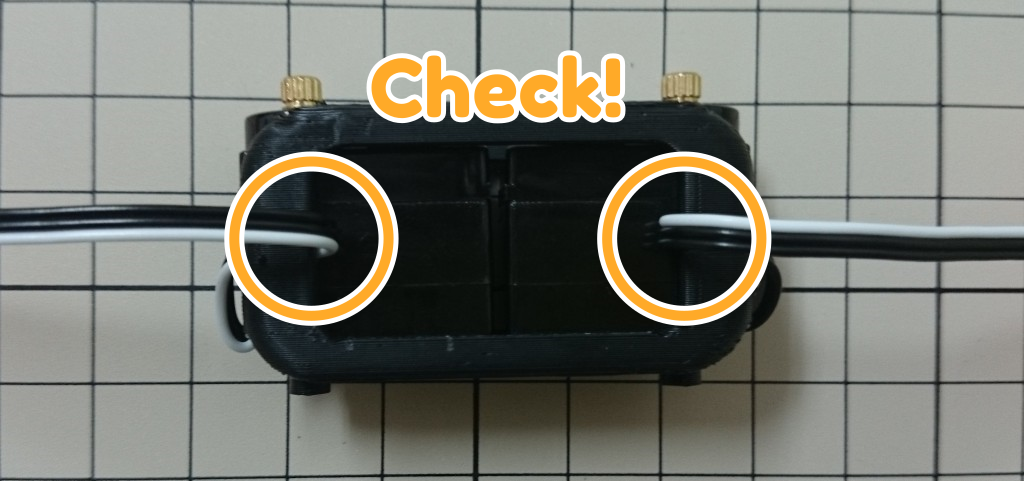
Attention!: Please connect the white wire which is owned by a servo to inside of the control-board.
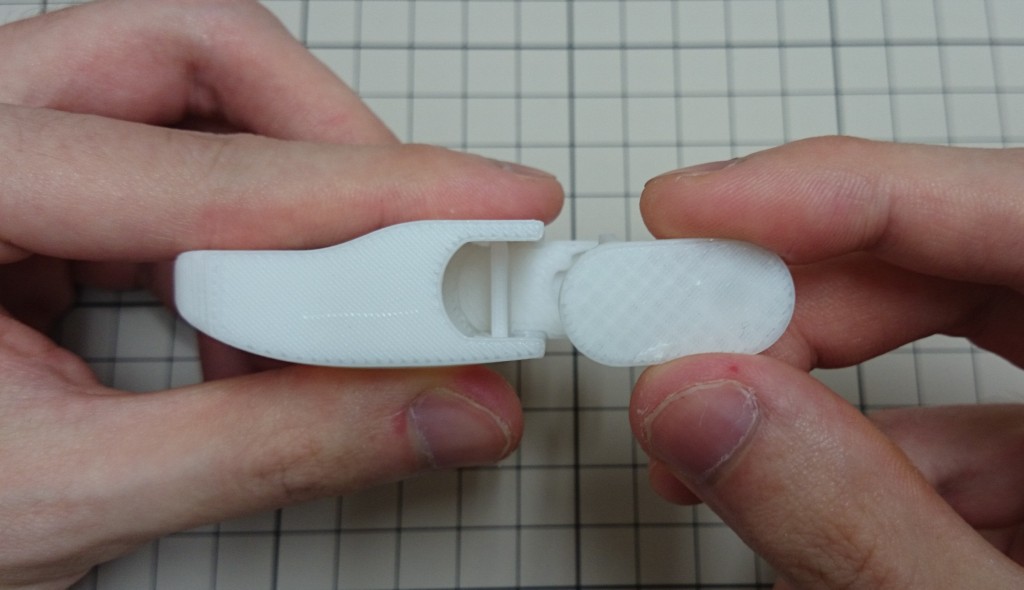
Attention!: Attach a servo-horn to length D servo. At that time, please check it is placed approximately parallel to edge of the servo.
Finished Arm
tutorials/plen2/arm.txt · Last modified: 2021/04/01 13:52 (external edit)
Except where otherwise noted, content on this wiki is licensed under the following license: CC Attribution-Share Alike 4.0 International


